


How to Draw A Donut. Everyone loves a good doughnut! These treats come in all shapes, sizes, and variations, and there’s a doughnut for just about every taste!
Also, check our coloring pages for kids.
They’ve become even more famous in TV shows and movies as a favourite snack for everything from cartoon dads to wacky FBI agents.
Doughnuts often come in bright colours and delicious flavours, and with all the options out there, making and designing a doughnut can be just as much fun as eating it!
If you want to create your delicious doughnut, this guide is for you!
Our step-by-step guide to drawing a doughnut makes it easy to design your treats.
How to Draw A Donut
Step 1
Doughnuts are quite round by nature, so it makes sense to start this guide with how to draw a doughnut with some round shapes.
For this step, you want to use a pencil for one part and a pencil for the other.
Using the pen, carefully draw a flat oval shape for the outside edge of the doughnut. Then you can use the pencil to draw another oval, which will become the doughnut hole.
We’ll be using a pencil for the doughnut hole for now, as we’ll add more details later in this guide.
Step 2
We said earlier that we’d draw some details on the doughnut hole, so let’s do just that for this part of your doughnut drawing!
You can use the pen to draw a rougher oval on top of the pencil. Near the top of this oval, you can draw curved lines going down, representing the icing dripping into the hole.
Step 3
In step 3 of this how to draw a doughnut tutorial, we will create a 3D effect for this 2D drawing. Draw a horizontal curved line inside the doughnut hole under the dripping frosting to do this.
This gives the doughnut hole a nice 3D effect and adds some depth to the doughnut design.
Step 4
The outline of your doughnut design looks great, so let’s put it together with some great details in these final steps!
For this part, we will add some delicious frosting to the doughnut. To do this, draw a curved line near the base of the doughnut, with some sharp curves representing dripping frosting.
Such a simple detail helps make this savoury doughnut even more delicious.
Step 5
In step 5 of our guide to drawing a doughnut, we’ll finish with the final details. We’ll show you how we finished our drawing, but this is a step where you can also show your creativity!
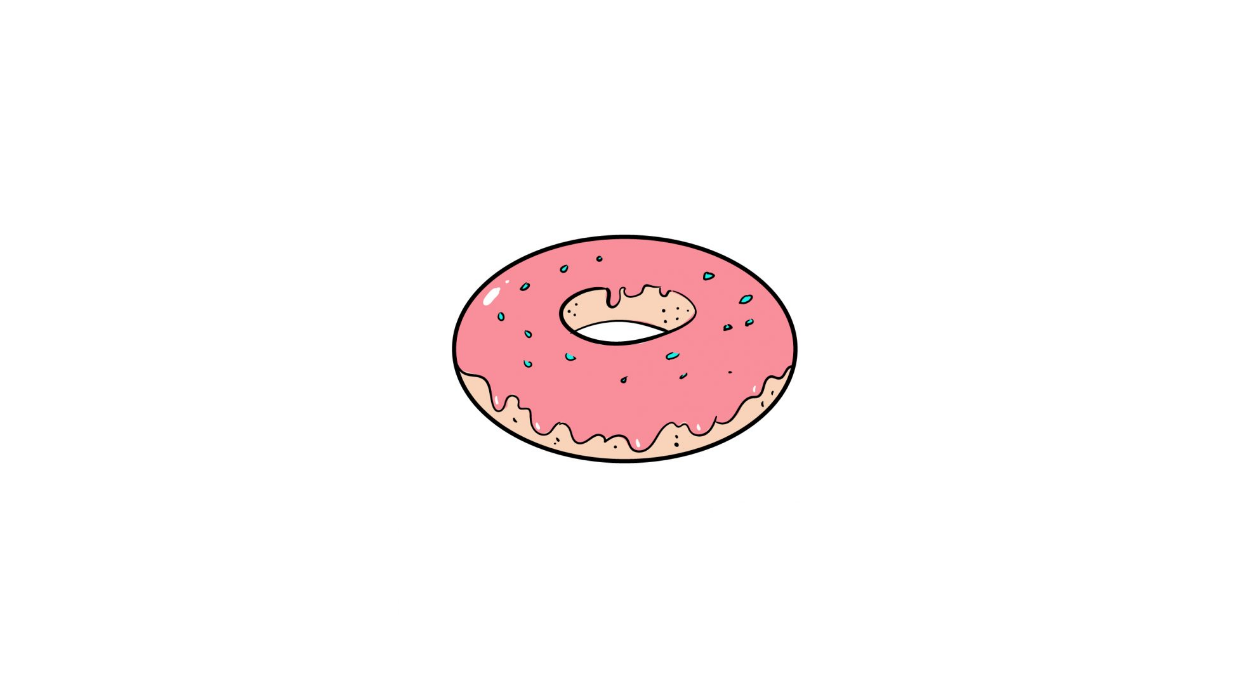
We drew some small lines and circular shapes to create the effect of icing and sprinkles on the doughnut.
You could go even further with your data! You could draw your favourite doughnut toppings or frosting on this doughnut drawing. You can also draw a background for the drawing.
For example, the doughnut could sit on a plate next to a steaming cup of coffee!
You could even draw a hand reaching for the yummy doughnut or show us what treats you think would go well with your doughnut.
This is a step to let your imagination run wild while making this image unique to you!
Step 6
This sixth and final step of your doughnut drawing is about having fun colouring your amazing picture!
We used a yummy looking pink for the icing on our doughnut, but while this is a look you could use, this is a step where you should let your creativity run wild.
Doughnuts can have any colour icing imaginable, giving you an amazing range of colours.
Using some vibrant colours to make this image stand out for this type of design is nice!
In particular, a light medium like acrylic paint, crayons or markers would go perfectly with this image.
However, if you prefer a more muted look to the image, something like watercolour or coloured pencils would also work very well.
If you’re feeling extra crafty, add extras like glitter, stickers, or beads to the frosting to make this doughnut delicious!
Your Donut Drawing is Finished!