


Frankenstein
Since individuals have existed, we have often connected each other with stories and stories. Now and again, these accounts can show up as scary stories to influence the shadows toward the side of the space to have all the earmarks of being that part creepier. Some of these frightening stories have become effortlessly perceived names, and Frankenstein has been surprising people since his show in the book by Mary Shelley beyond what many would consider possible back in 1818.
Visit the simple dog coloring pages.
By sorting out some way to draw Frankenstein, you can imitate this image of ghastliness! Close to completing this helper, you will know unequivocally how to do that. So weak the lights and get ready to draw in this well-known monster little by little, aid on the most capable strategy to draw Frankenstein!
Stage 1 – Frankenstein Drawing
We will draw on the highest point of the monster himself. This is associated with the most capable strategy to draw Frankenstein. As an issue of some significance, we need to get out how this isn’t, as a matter of fact, Frankenstein’s monster, as there’s reliably that one person that raises it. While that may be exact, we will, regardless, imply him as Frankenstein to benefit straightforwardness in this helper ultimately. To start this associate off, we will be starting with the eyes and nose for him.
We will include a couple of incredibly thick lines for the nuances of this drawing, as this will help surrender a more adjusted shift concentration to the picture. Considering that, we will include a couple of slanting lines for his eyes’ most elevated marks to give him a despairing look. We will add a couple of thin lines under them with a thick shape above interacting with them.
Finally, we will use a smoother straight line for specific thick spots on his nose.
Stage 2 – Next, draw nearly a more noteworthy measure of his facial nuances
In this second piece of your Frankenstein drawing, we will add nuances to the face. In any case, get rolling by including a couple of extra lines and touches for an indistinguishable portrayal of the essential part of the nose you started in the past step. Then, we will use a thick, twisted line for his mouth, with lines loosening up. Finally, we can finish by drawing his changed cheekbones and some line nuances around the mouth. Then you’re ready for stage 3 of this associate!
Stage 3 – Start drawing in his facial outline. This part
It will be an optimal chance to start drawing his face outline in this step of our assistant on the most capable strategy to draw Frankenstein. We will use a couple of extra thick, changed lines around the eyes and cheekbones to do this. Then, you can widen a couple of straighter lines down that change into extra changed lines for the lower part of the face.
Then, we will finish with specific more round lines for the facial structure at the lower part of the face. Before you forge ahead, we can add minor line nuances, generally through the face, to clean it off.
Stage 4 – By and by, start drawing more bits of his face and neck
Two of the most undeniable pieces of Frankenstein are the joint near the most important place of his head and the metal bolts embedded in his neck. We will draw these two points of view in this step of your Frankenstein drawing. Regardless, characterize a couple of thick wavy limits loosening up from his cheekbones for the sides of the greatest place of his head.
Then, we will characterize a level limit with some vertical minimal square shape shapes for the sewing in his brain. You can then include a couple of extra round lines for his ears, and subsequently, you can grow a couple of jagged lines down from the lower part of his head for his neck. Finally, finish by drawing a couple of minimal square shapes along the edges of his neck for the bolts. Then, we will have several unmistakable nuances to incorporate into the resulting stage!
Stage 5 – Finish your Frankenstein drawing
This piece of our associate on the most capable strategy to draw Frankenstein will be about finishing the last nuances before you start to assortment him in. The essential thing we will focus on for this step will be his hair and the most elevated mark on his head. Frankenstein is known for having a level top to his head, and we will portray him with this look.
In any case, use a couple of unpleasant lines for the most elevated place of his head and some pointier lines under that for his short outskirts hitting down. Whenever you have drawn this haircut, you have finished the drawing! You could, in like manner, draw a couple of extra parts and parts of your own to put your turn on it. You could draw a more noteworthy measure of his neck and body or make an establishment to show where he right currently is.
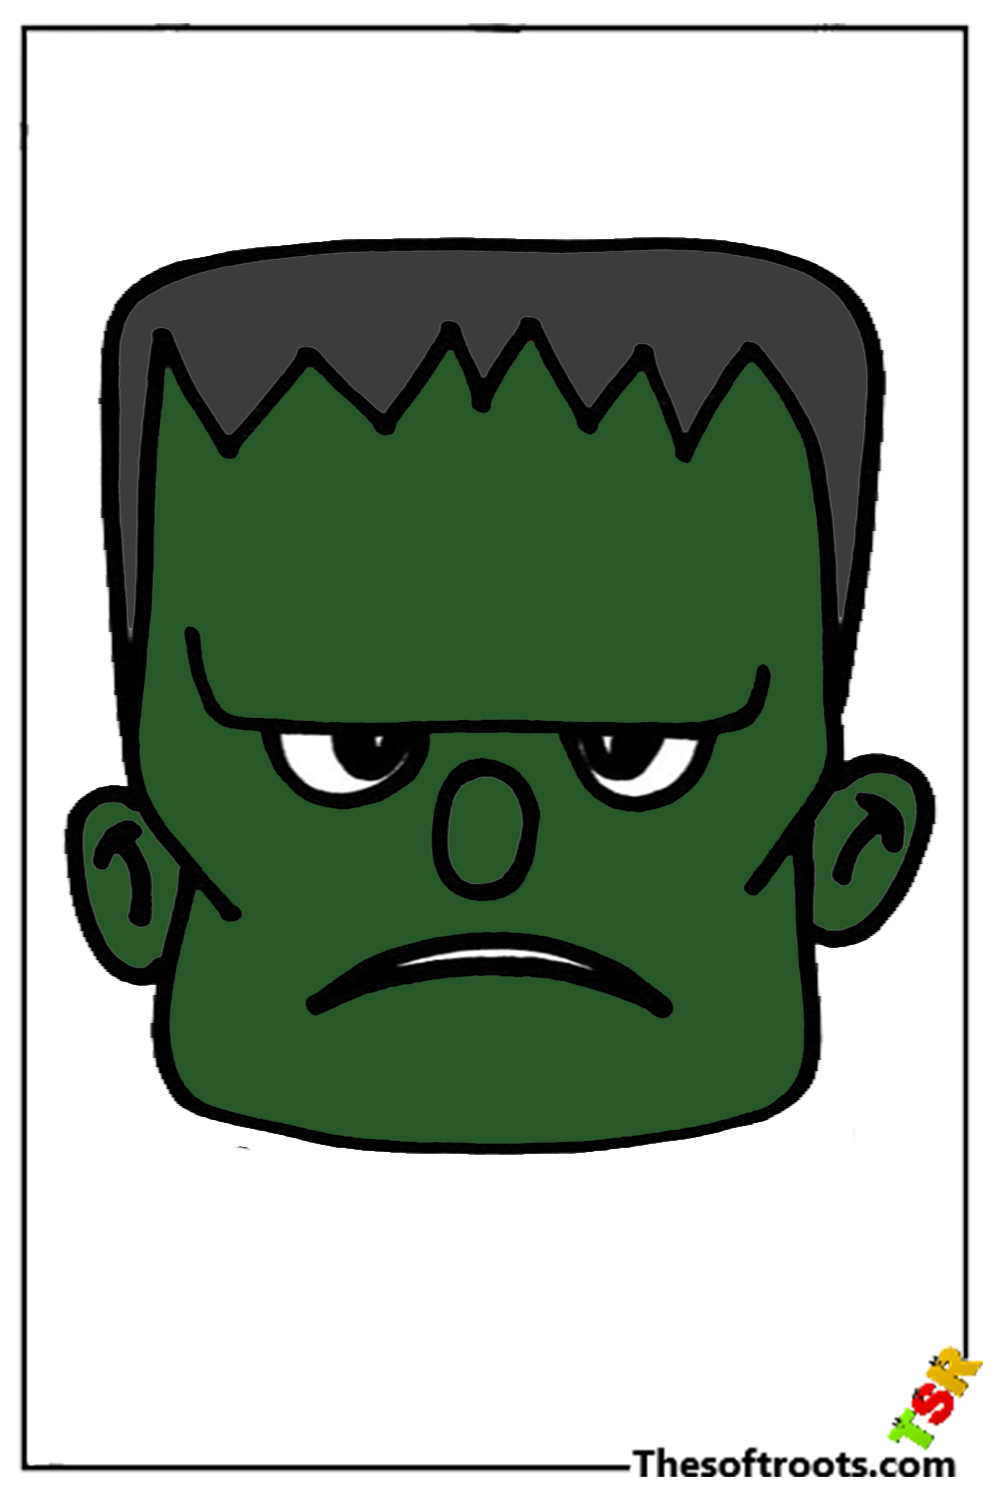
Stage 6 – Finish your Frankenstein drawing with some tone.
By and by, it is ideal to have a few great times concealing in for this last step of your Frankenstein drawing! We went with a green assortment contrive for his skin, a usual assortment related to the individual. This is just a single comprehension; you could use other assortments or assortment mixes to blend him in. Then you can close which artistry mediums you figure would be ideal for restoring your assortments.
Also Read tech time media